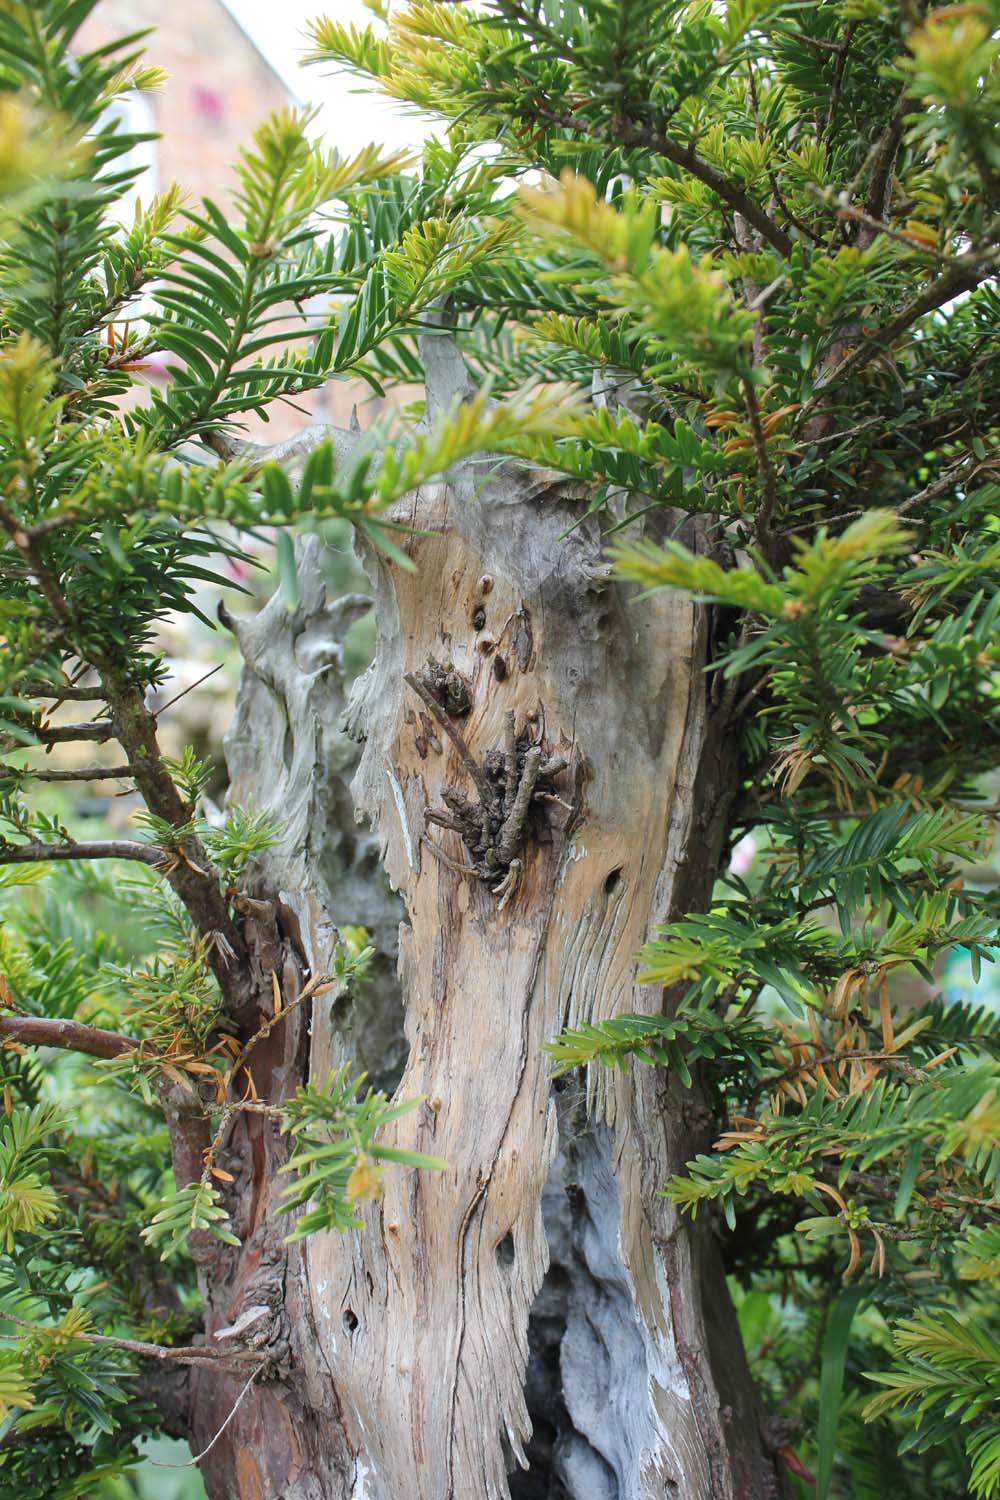
The base of this Yew is 18"/ 460mm wide. It has already been carved once, about 2 years after collection. Some aspects I am pleased with but some areas are very heavy. I decided to start carving again to tidy up the bad bits but also to reduce the weight as every time I move it my eyes start to bleed.Spring 2011

Taken from the right side, there are many cut roots that need refining
This tree was originally collected from a forest and was over 20 feet tall. It was cut down to 2 feet and a hollow was made with a chainsaw before more refined carving was carried out

Although on the right side of the tree, this is the carving I am happy with. I want to replicate this around the tree
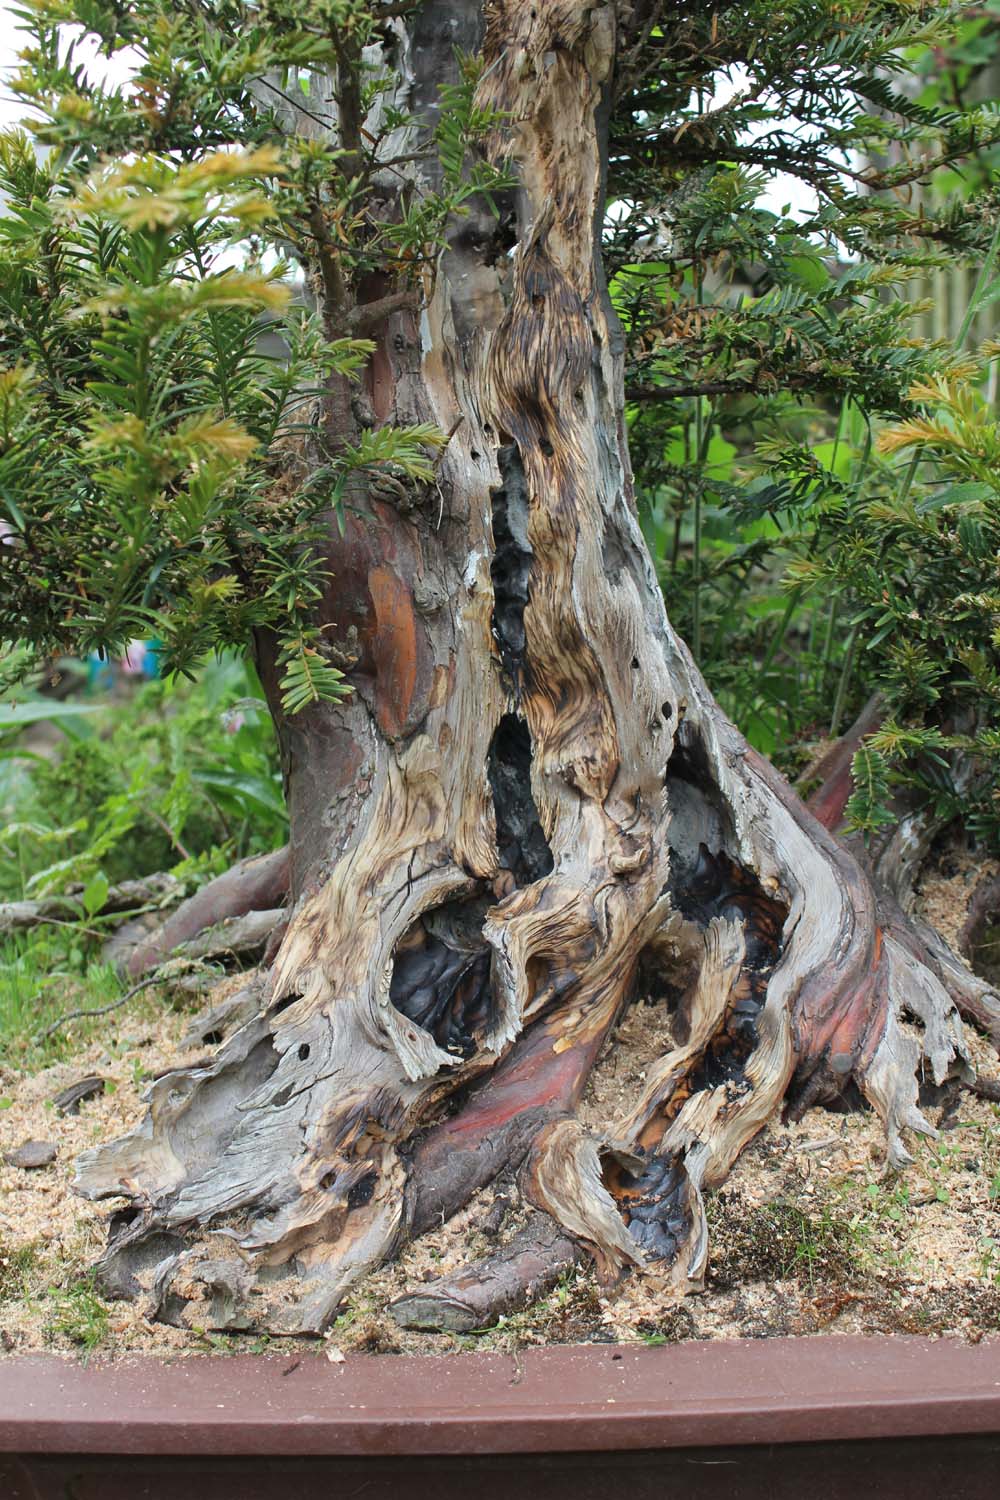
Time to open up the deadwood some more. This was done with the more slimline Makita 906. Wish they still produced it.
Roughing out with some big carving bits before more refined work can be carried out.

Starting to take shape now but I'll be working this tree for a few days. The straighter sections were carved on the outside for extra movement.
The tree was lightly burned with a gas torch to remove small fluffy stuff and age the wood with cracking. I will burn the inside some more to remove hard to reach tool marks
Upper section will need more work tomorrow but its starting to take shape

At the end of day 1
Day 2 I had an hour to myself so started thinning the wood and refining it.
Some more holes were made too.
Tool marks were removed internally.
Much more delicate, just like an old lowland tree.
Front is starting to look like the old carving.
Really pleased with the way it's turning out.
Whole day at it tomorrow.
Before I wanted to carry on carving the left and back of this tree, I wanted to increase the taper and movement at the middle and top of this tree. In order to do this, the internal deadwood had to be thinned considerably, allowing the wood to flex.
As I had to drop the Makita down the middle, this took a long time as the control was very difficult.
Cuts had to be made vertically as well to release the wood and allow it to bend
I used a Jigsaw to make the vertical cuts. Jigsaws allow you to curve the cut.
Once the wood was cut and released, I spent an hour burning the inside to get rid of the tool marks. The cracking effect with burning is a great effect
The burning went all the way ro the roots
To bend the thinned wood I screwwd an eye on the other side of the deadwood to close the gap. Copper wire was then used to draw the two sides together.
The gap was slowly closed over about an hour. Pulling then leaving, then pulling again gives a chance for the wood to stretch rather than doing it all at once.
The jigsaw cut with some basic carving. I will refine it tomorrow.
The taper and movement is much better now .
Me as a sense of scale.
Todays task was to work the left and back roots
The bark was cleaned away and some live vein reduction too.
Rough carving of the back root. The live vein had shrunk back considerably since potting up.
Roughing out completed. The detail will be added tomorrow.
The long root was reduced and some shape achieved with the Makita.
The front was Lime Sulphured as an anti fungal. I'm not keen on the stark white colour and over time this will dull down. The deadwood will then be treated with a wet rot wood hardener. At no time during the painting did I put the Lime Sulphur brush in my glass of Scotch.
The view downwards.
The fourth session and refinement of the left and back roots.
They will need further work in the future with more reduction of the wood around the roots.
Sanded and then the whole tree, inside and out was Lime Sulphured
I'm really not keen on the colour as it really flattens the appearance
But the contrast is good against the live wood
I'm all carved out now and don't want to hear a Makita for quite some time. Maybe a week.
I have to thank my wife Bev for giving me the opportunity to work without distraction to finish the deadwood
I am happy with the result...For now.
Today I wanted to finish creating the taper in the top of the tree. This is where I had got to back then and the live vein had been allowed to grow. I pruned back the whole tree today and decided to add a branch to the taper.
This is how the taper looked and you can see the vertical branch I needed to adjust.
Here is the branch today.
I used a branch splitter first and then finished the work with a Dremmel. I went right down below and behind the branch
The sapwood was then sealed with cut paste. A piece of rubber hose was placed to protect the bark from the Copper wire
Objective completed and I am happy with the result. There was no cracking at all on the branch as it was bent. The branch will be left to grow freely all Summer and I hope to style the whole tree in the Autumn.
The front I am happy with now. Just the other 3 sides to deal with now.